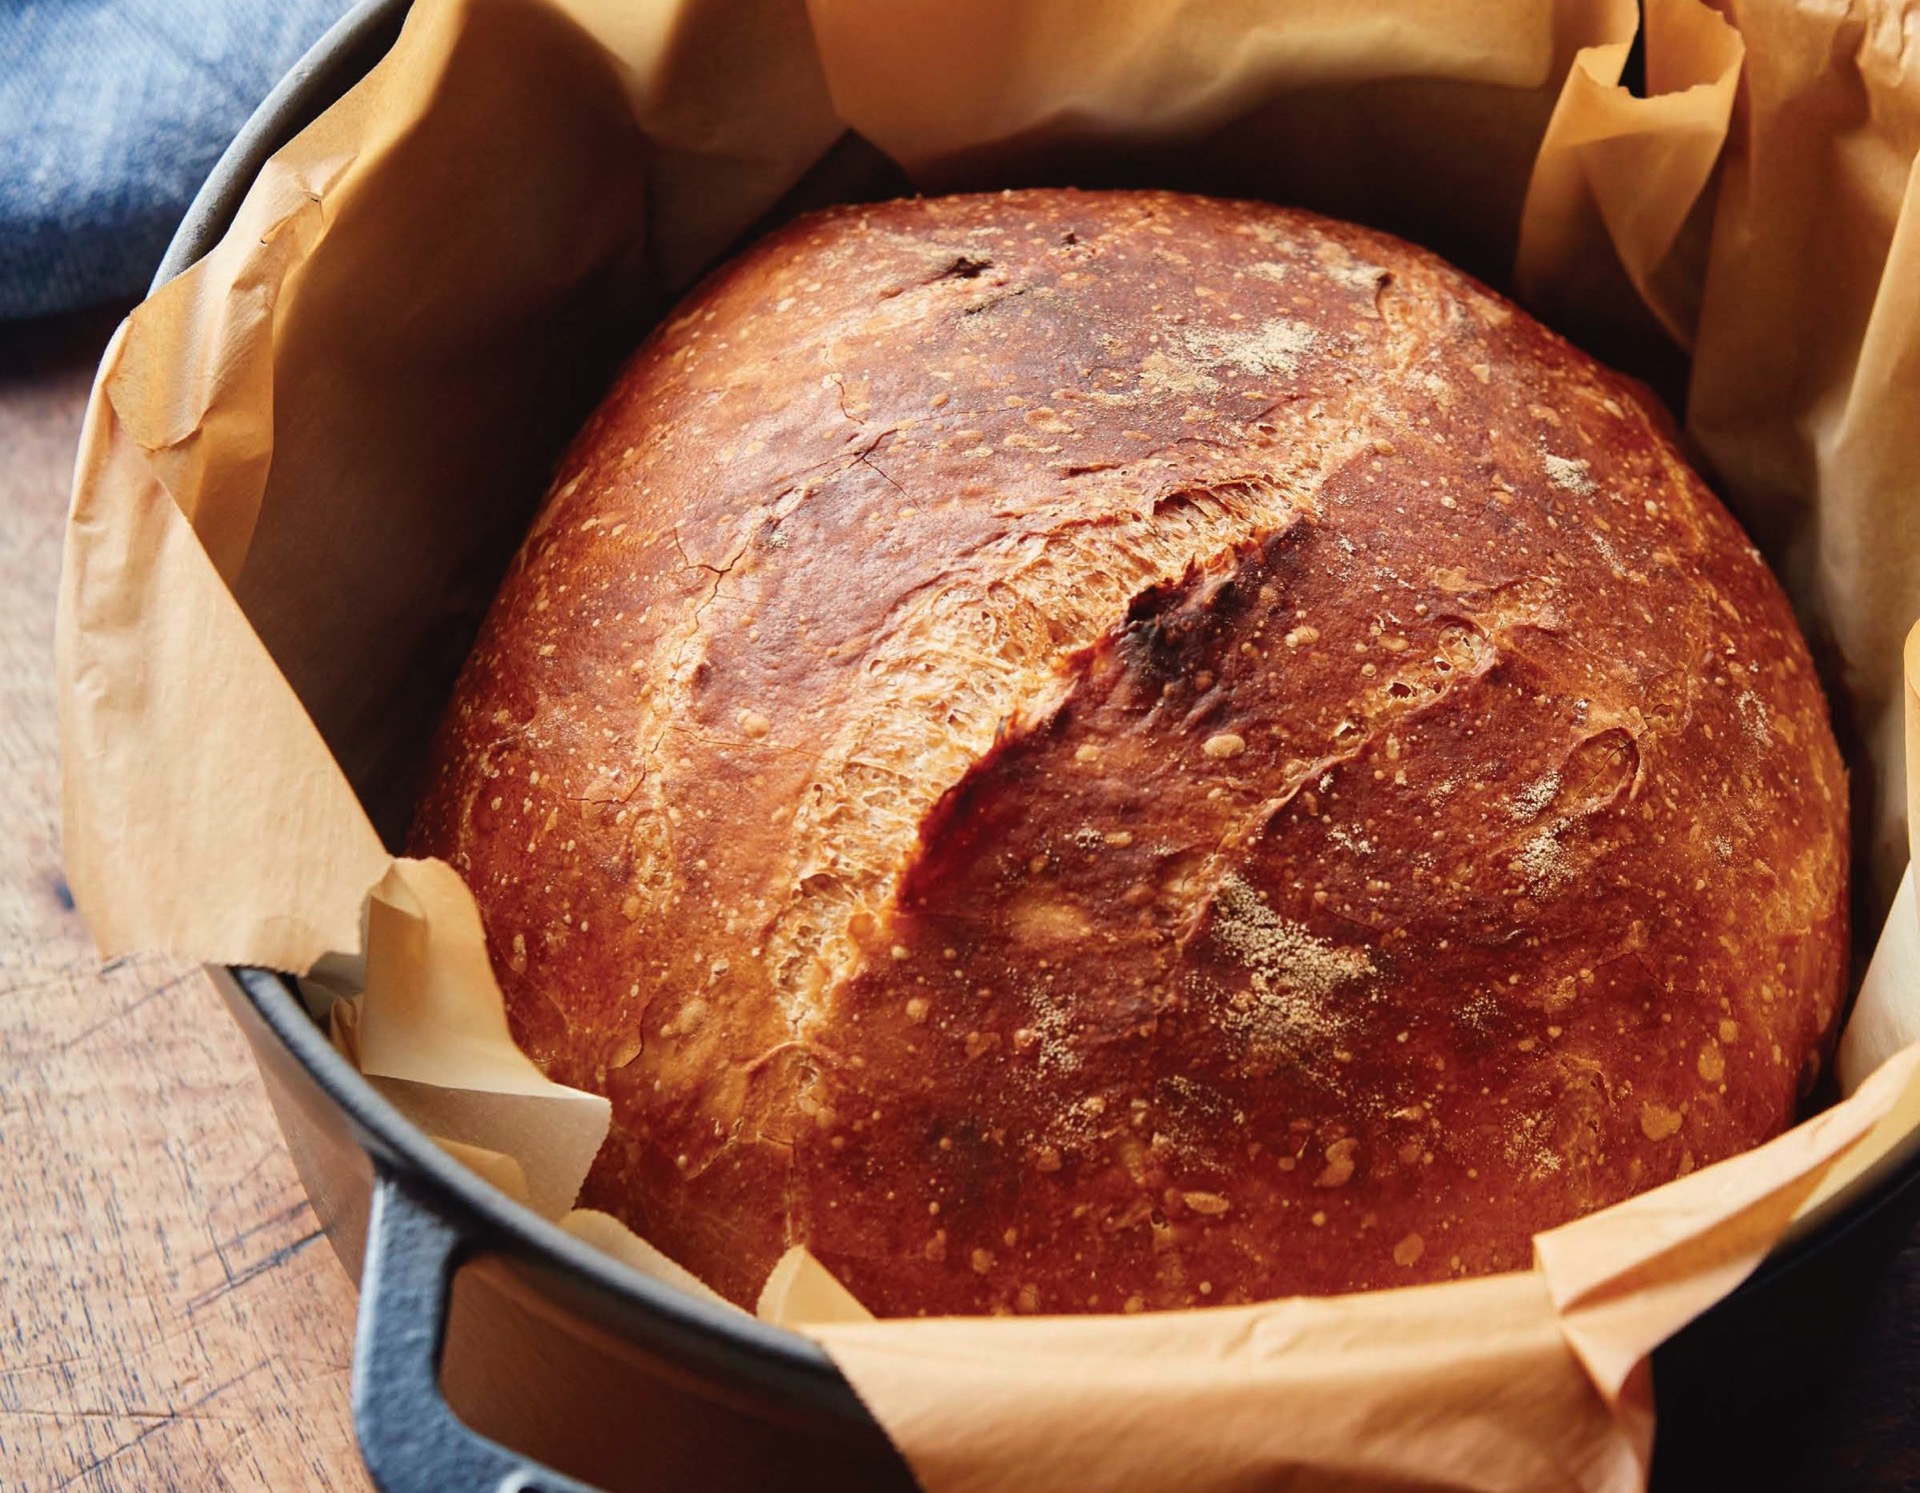
Recipes-From Vegan to Carnivore (Click or tap here to see more)
We do any and all recipes from sides, to main dishes. from Vegan to full Carnivore, from land to table, from sea to plate! All around the world we love food! Below are a few we have features for your viewing.
SPECTACULAR SIDES RECIPES BROUGHT TI YOU BY OUR SISTER GROUP “SUDZ-BUBBLES-GRAPES”
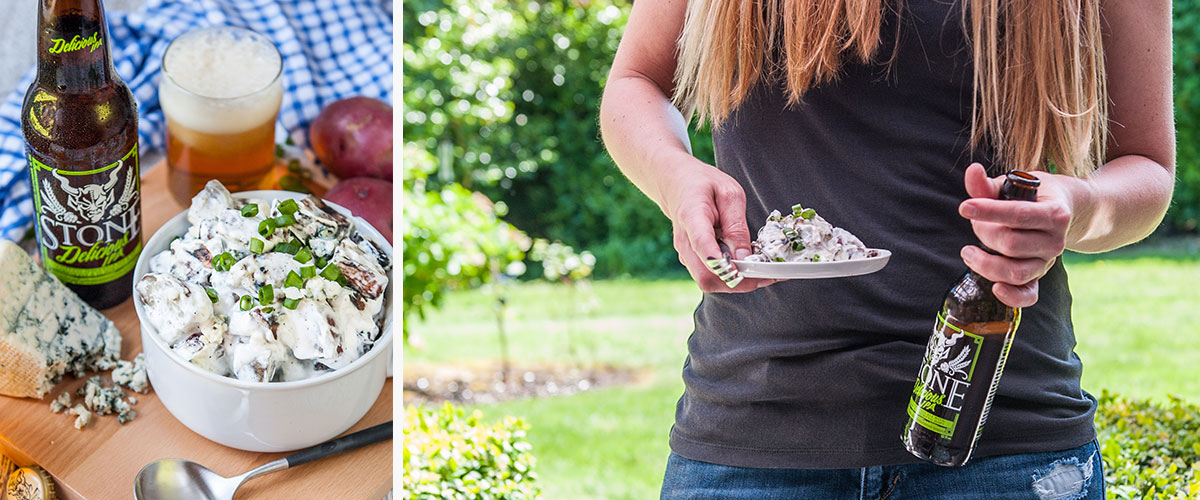
Grilled potato salad with bacon and blue and Stone Brewery Delicious IPA
RECIPE
- 6 slices bacon
- 2 tablespoons olive oil
- 1 teaspoon salt
- 1 teaspoon pepper
- 2 lbs mini red potato, cut into 1-inch squares
- 1 cup sour cream
- ½ cup blue cheese crumbles
- 2 teaspoons fresh lemon juice
- 3 tablespoons Stone Delicious IPA
- ½ teaspoon onion powder
- ½ teaspoon garlic powder
- ½ teaspoon chili powder
- ¼ teaspoon paprika
- ¼ cup green onions
INSTRUCTIONS
- Preheat oven to 350F.
- Add the bacon to a wire rack over a baking sheet.
- Bake until the bacon is crispy, about 15 minutes. Remove from oven, chop.
- Preheat the grill to medium high.
- Add the potatoes to a large bowl, drizzle with olive oil, salt and pepper, toss to coat.
- Add the potatoes to the grill, cooking until fork tender and grill marked on all sides, about 10 minutes (no need to boil ahead of time).
- In a large bowl stir together the remaining ingredients.
- Add bacon and potatoes to the bowl. Toss to combine, salt and pepper to taste.
- Serve warm.
TIPS
- No grill? No problem! Roast the potatoes on a baking sheet in a 425F oven until fork tender, (about 15 minutes) instead.
- Need to make it ahead of time? Just store the potatoes and the dressing separate, combine right before serving.
ENJOY!
TO OUR AWESOME FOODIE INSPIRED VEGAN DISHES THAT WOULD SATISY ANYONE!
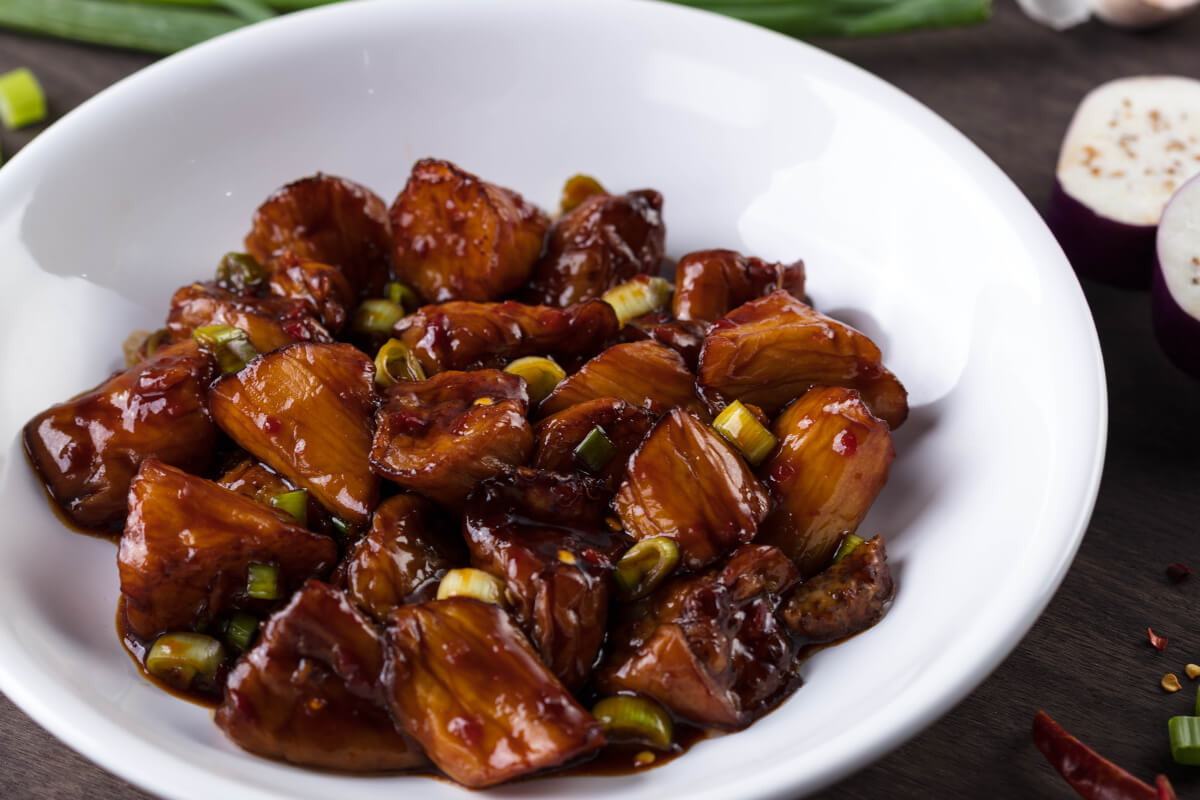
Vegan Spicy Eggplant
Ingredients
1 full egg plant peeling skin is optional
Ginger
Soy sauce
Garlic
Water
Sugar
Green chili's
Red pepper flakes
Cornstarch
Salt
How to
Cut eggplant some take the skin off some don't, that's up to you and your preference. I a bowl add egg plant and 1/2 TSP of Vinegar and 1/2 TSP of salt and mix and set aside for 15 min. After the rest pat dry with a towel add corn starch to lightly coat each piece. Many different ways to do this I do it in a paper bag or simply a bowl with a plate as a lid and shake.
2 ways
1- air fry on 325 for 8-10 min and flip and the same for 8-10 min (this makes it dry to me)
2- my method is good old cast iron. Get it hot, add some oil and shallow fry the egg plant constantly turning until golden brown
Next in a pan in the stove about 2-3 TBS of olive oil add 1TBS or more minced garlic, 1TBS of Ginger or more scallions if you prefer some green chili's for heat. Mix in a pan on the stove on med heat add some soy sauce, don't let it burn stir in some water, not much. Add some sugar 1 TBS and some red chili flakes (amount to your desire of heat level) and stir.
Place the cooked and warm egg plant in a bowl and add the sauce made above. Shake until all is coated, serve in a bowl or dish. Add some scallions and sesame seeds to the top.
ON TO OUR FULLY CARNIVOROUS DETAILED INSTRUCTIONS ON SOME YUMMY MAIN DISHES
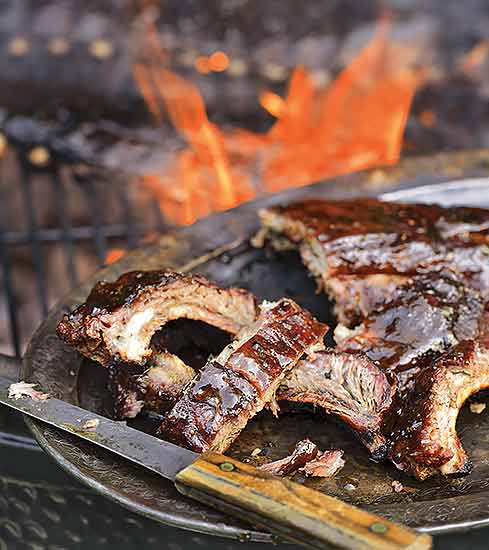
RIBS-PORK SPARE/ST.LOUIS/ANY PORK RIBS
INGREDIENTS
Rack of ribs...or 2....(pork)
Foil
Apple juice or concentrate apple juice or apple cider vinegar for your spray
BBQ sauce of choice for your slather
Coarse pepper
Kosher salt
Paprika
Olive oil
PREPARATION
1-Cut the ribs to your liking. If it has the top bones I slice to rectangle and get rid of the small flat at the end of the small cut side.
2-Take the back strap off! If you are having trouble use a dry paper towel to grip the skin.
3- Dry rub that piece of meat to your liking.Start with olive oil so the rub will stick. I use about 70% Coarse pepper-25% Kosher salt-5% paprika
FOR LATER
You need to make a type of juice to spray out of a bottle (Spritzer) consisting of apple juice or apple cider vinegar or even water. Also you need a (Slather) a squirt bottle filled with about 1/2 BBQ sauce and 1/2 water or apple juice. They call this a slather. You can also use a mop or brush but I prefer the slather.
METHOD OF COOK
Off set is key. If you don't have a off set a Weber slow and sear may work. Use Oak wood for the cook.
COOK TIME
Get the grill up to 275 and maintain that temp. Put the rack directly on the grill meat side up and furthest away from the fire with the thick side closest to the hot part of the grill.
SET IT AND FORGET IT!
At about the 2 hour range start peeking at the rack and see if it has your desired bark. If so wrap it! We will use the Texas crutch (foil) if not leave it be. Sometimes you can go a whole cook without wrapping. I always warp. Before wrapping squirt with bottle and use the slather. Slather the foil as well. Wrap tightly with no holes in foil and put back on the grill meat side down this time and maintain the temp of 260 (bring it down a notch) for about 2 more hours. Pull off the grill and wrap in towel and place in cooler to "rest" for 30 min or longer.
HOW TO CHECK IF THEY ARE DONE.
I feel the middle of the rack when they are done. "The bend" Example I focus on the middle as it's the last place cooked. I know the outsides are good but the middle? That's the focus for me. Another simple way is to try and twist the bone. If you can twist it's done.
AND LASTLY BUT AGAIN ONLY A FEW LISTED OF WHATS TO OFFER AT FOODIES WE HAVE A MORE COMPLICATED AND COMPLEX JERKY/SAUSAGE TYPE RECIPE. ENJOY!
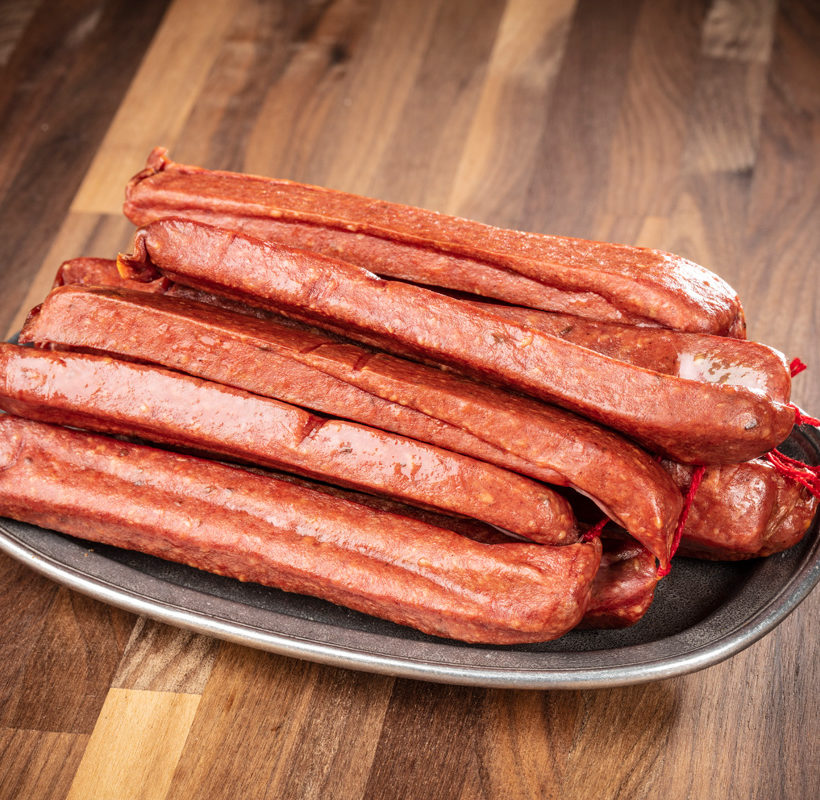
Landjäger
Landjäger is a semidried sausage traditionally made in Southern Germany, Austria, Switzerland, and Alsace. It is popular as a snack food during activities such as hiking. It also has a history as soldier's food because it keeps without refrigeration and comes in single-meal portions. As a meal, landjäger sausage can be boiled and served with potatoes and fresh greens.
According to the Swiss German Dictionary, the name Landjäger was possibly derived from the dialect expression lang tige(n) 'smoked for a long time, air-cured for a long time. The Alsatian and French names for smoked air-cured sausage, Gendarm and gendarme, are apparently translations of the folk-etymologized German name. "Jäger" should be remembered as a direct, simplified, translation from the German, meaning "hunter". This could lead to explain the sausage's renewed popularity in the more northern, and German-settled, parts of the United States. Dedicated hunters consider Landjägers, as a food for hunters taking game to carry on the traditions associated with a lifestyle from previous generations of hunters.
Landjäger sausages are made of roughly equal portions of beef and pork with fat, sugar, red wine, and spices. They are each 15-20 cm (6-8 in) in length, made into links of two. Prior to smoking and drying, they are pressed into a mold, which gives them their characteristic rectangular cross-section of about 2 1⁄2 cm × 1 cm (1 in × 1⁄2 in). Typically, a pair of Landjäger weighs about 100 g In Austria, Landjäger are sometimes made using horse meat
For those who follow my homepage will have seen most of these and rightfully drooled over the pictures
This project is very simple and easy to do not taking up too much space nor equipment if you live in the sub-tropics as I do -- well at least in the type of climate of the Pacific Northwest a climate where you can do things out of the ordinary like curing/drying at room temperatures most of the year round
This then is my mentor's recipe who came from the Black Forest area in Germany taught this to me
Meat block
75% pork shoulder
25% beef trimmings (not fatty stuff)
100%
Spice combination
2% sea salt
0.25% Cure #2
0.3% White pepper
0.1% Caraway ground
0.64% Juniper berry infused Rum **
** At least at a very minimum of 4 weeks infuse a handful of dried juniper berries into a 473ml juice bottle and fill with Rum (the one that I use is called Lemon Hart Rum (1804 Original), use something that has Demerara sugar in it
I grind the pork and beef together twice with the course plate; this assures me that the two meats are blended well together
Take the blended spices along with the salt and cure and dust all over the ground meat. Mix well by hand but do not over mix, as this will cause problems. Add the rum and again blend well but as before don't over mix
Stuff into pre-soaked 29/32 hog casings and link to desired length. I normally twist each one at 15 Centimeters long
Once linked you need to press them so that they get their desired shape which is square. The best way as well as being the easiest is to use laminated shelving. It comes sealed and completely covered, which makes them easy to clean and store. They are fairly cheep at the local lumber store
Prick the casings and start laying them down, as you will see in the pictures. Build your press as high as you need. At the top place an extra shelf/board and place some heavy weights on the top
When I do this at home I will use between six to eight 8 x 8 x 16 concert blocks. At the Club where I worked I had access to the gym so used their weight's, I have a total of 6 weights of 45 lbs. each for a total of 270 lbs. (123kg)
The sausage sits like this overnight at 69*f and 75% humidity under weight to start the process of getting there shape as well as fermenting (no starter cultures, the Rum does this)
The following day I hang them on the smoking sticks with cardboard in between to stop the sausages touching while cold smoking and also to stop contact creating a moist spot that will cause mould problems.
They will normally sit like this until the get dry enough to take cold smoke, moisture and smoke do not like each other, and hence they need to be somewhat dry to the touch before cold smoking
Cold smoke for about 8 hours with a thin blue smoke, as we are only giving the sausage a light taste/enhancement flavour profile and to stop the growth of mould.
The use of cold smoking is to preservative and enhances the flavour
Next comes the drying. As I said at the beginning that I am blessed to live in a location that I can air dry at room temperature most of the time
The last batch I have just done only took just short of 4 weeks to dry to the consistency of being firm to the touch, one can dry longer if one likes which will help on the keeping properties
I never go by weight loss on these, as it was the way my mentor taught me
Dutch Oven Bread
Below is a link to the recipe for no knead Dutch oven bread. This is a great beginner recipe and a good way to get to know the consistency of your dough and the crispness or your crust. The recipe is for a plain white artisan bread but garlic, rosemary, thyme, basil and more can be added before the bake. Enjoy this same day, minimal ingredient recipe.

